Preparing your camera to avoid condensation and lens fog.
Thu, Aug 22, 2013
Warning: This post has little to do with HDR. It does provide a pretty great pro-tip that can help you get the shots you'll need to make HDR images, but otherwise has nothing to do with tone mapping or post-pressing HDR images.In a previous post I mentioned the difficulties of shooting outside in Florida during the middle of summer. One big component of this suckitude is the condensation that forms on your lens because of the temperature differential between your air conditioned summer-time survival pod (be it your house or your vehicle) and the soupy, swampy mess of nature you're about to go into to get that memorable moment. During the dog's breath portion of summer the humidity regularly reaches well into the 200% range. Thereby amassing a density roughly equivalent to that of Seaborgium. It's an oft-overlooked fact that most Floridians use swimming as a means of simultaneously cooling and drying off. I digress... what's important here is the fog on your lens and how to properly prepare so this doesn't happen to you.
So as I've mentioned, the problem is temperature differential. After being in the A/C, your camera is like a glass of ice-water when you get outside. The cool surfaces begin to rapidly condense the vaporized moisture in the thick air, quickly making your camera a sweaty mess. I've read tips on this issue from pro photographers that largely suggest having the foresight to get to your photo location in time to take your camera out of your bag and let it warm up prior to removing the lens for go-time. The idea is that the ambient heat of the environment will help get your camera ready to go. While I don't deny that this method can work, I do have a problem with the time it requires. This is especially true if you're out to catch a sunrise because, let's face it, you slept in and while grumbling about not having any coffee realized that sunrise is at 6:30am and it's already 6:00. You're late and adding insult to injury your damn camera is cold! What's an enterprising photographer such as yourself going to do?
I thought on this dilemma for a bit and I think I've come up with the perfect solution. It came to me during a flashback to childhood in which I'd left my favorite baseball glove out in the rain overnight. I really needed to dry it out... anyway that's a whole different story and the outcome is irrelevant to this new idea. It was a one-time mistake on my part and let's leave it at that.
So here's the big reveal: (drum roll....) use your oven!
Just to be clear: this process involves using your conventional oven. I strongly advise against using your microwave oven. While a microwave might work faster and lend the allure of '80s chic to the process, it will also heat your camera unevenly and, as you can imagine, stirring a camera is difficult in the best of circumstances. Additionally, depending on the model your microwave may explode.
So here's how the oven technique is perfect - not only will it rapidly warm up your camera for going outside, but it'll also buy you just enough time to make that pot of coffee without causing you to be late for your shoot. Here's a step-by-step tutorial on how you can use your oven to get your camera ready to go outside!
1. First off, for the love of God, don't actually do this.
2. You'll want to get your oven preheating before you do anything else. Since you don't want it to take too long for your camera to get up to temp you'll probably want to preheat it to about 450° F.
3. While your oven is preheating take this time to make that pot of coffee or get dressed or something.
4. Once the oven is preheated, go ahead and put your camera on an *un-greased* cookie sheet. This is important because the grease is hard to wipe off the camera body and will cause it to slip in your hands. Inevitably this will lead to a drop and damage your camera.
5. Whatever you do, don't put the cookie sheet with your camera into the oven. The fact that you're still reading this suggests you're not of sound mind and need this sort of warning.
6. Put the cookie sheet with your camera into the preheated oven.
7. Set an egg timer (preferably one that looks like a fish head) for enough time to really warm that puppy up, but not too long because remember- you're running late. 10 minutes should do the trick.
8. At this point go ahead and double check the rest of your photo gear. If you use multiple cameras this would be the time to consider whether you'll need more than one of them warmed up and ready to go.
9. Once your egg timer goes off it's time to check on your camera. It's probably ruined and you deserve that, don't you?
10. As you remove the camera from the oven you'll need to use tongs or an oven mitt. Also, be sure not to inhale too deeply as your camera is probably out-gassing toxic fumes at an alarming rate as the plastic and electronics disintegrate.
11. Assuming your camera is good and warm now, go ahead and pack it up.
12. Go get 'em tiger!
Remember that while this process will get your camera ready for the outdoors, it may introduce some other challenges. Warped lenses, melted plastic, and malfunctioning electronics certainly pose a threat to the end product. That said, the modern digital photographer has Photoshop at his or her disposal. With a little time in post-processing you'll be able to correct any photographic artifacts resulting from having baked your camera. Just remember that in the big scheme of things this is probably a good trade off when you consider how difficult it is to correct for a foggy lens in post.
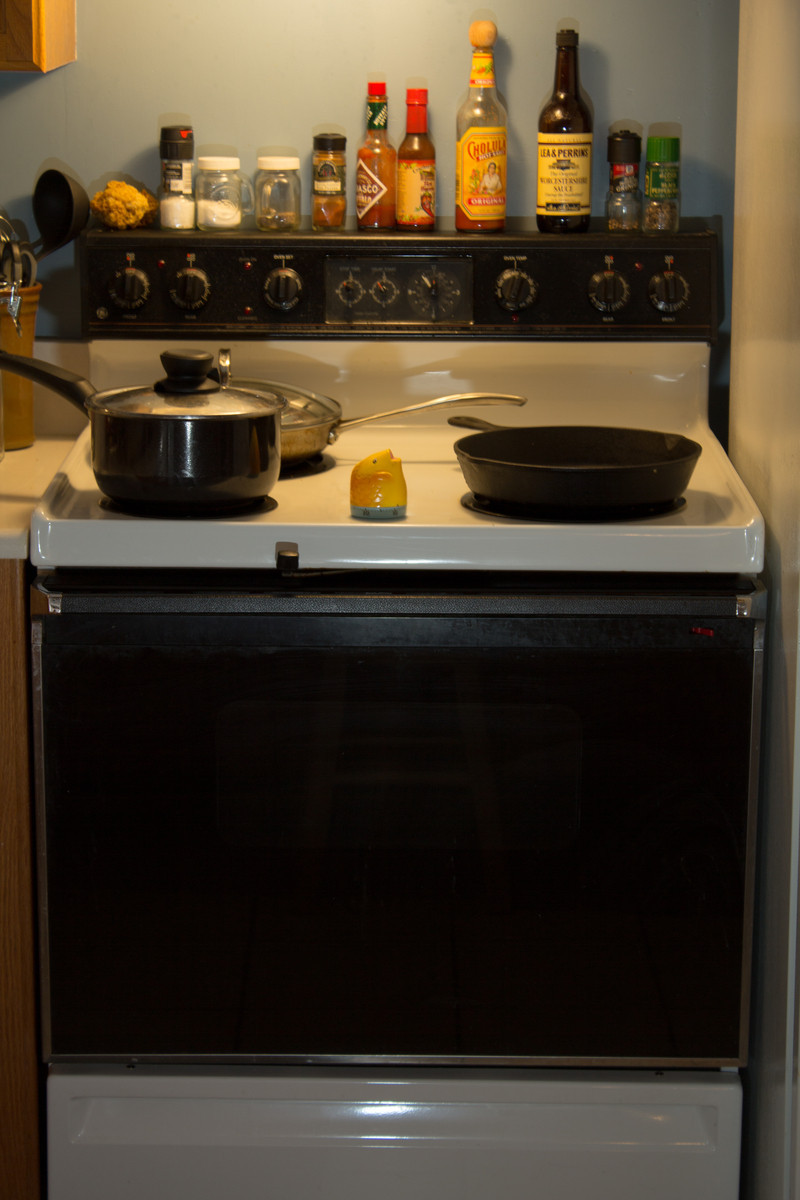
On the topic of ovens, here's mine:
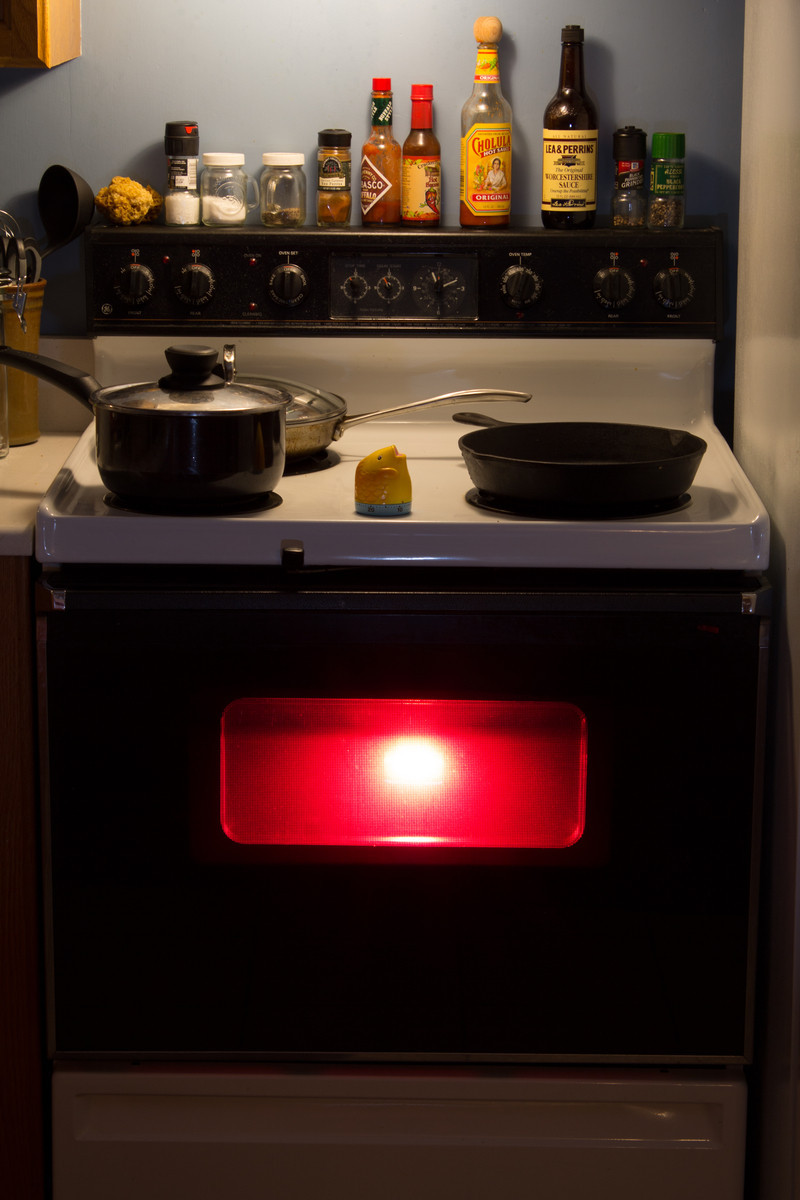
Here's a simulated photo of my oven devouring the soul of your camera (or providing shelter to Zuul):
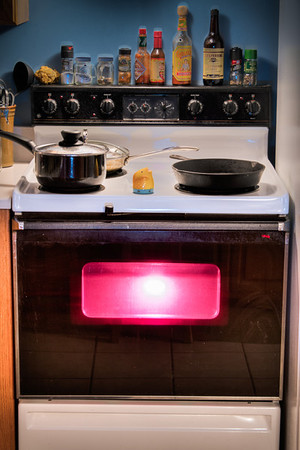
Last but not least, here's my oven in full-on gatekeeper mode thanks to the [dark] magic of HDR:
I thought this last one was neat in that I was able to bring up a bunch of reflection (and smudging) on the face of the oven that I didn't really see in any of the individual exposures.
Anyway, that's my oven , and I suppose since I HDRed it this counts towards my HDR Everything quota for the day. Next up, mundane stuff in my back yard!


